
Introduction to Camping Photography
Camping is a wonderful opportunity to immerse yourself in the beauty of nature and create lasting memories. One of the best ways to preserve those moments is through photography. Whether you’re a beginner or an experienced photographer, capturing stunning images while camping can be a rewarding and fulfilling experience. In this article, we will explore various aspects of camping photography, including outdoor photography tips, techniques for different types of photography, equipment recommendations, and post-processing tips to enhance your camping photos.

Outdoor Photography Tips
Before diving into specific genres of camping photography, let’s start with some general outdoor photography tips that can elevate the quality of your images.
-
Capture the Golden Hours:
The hours just after sunrise and before sunset, known as the golden hours, offer soft and warm light that adds a magical touch to your photos. Plan your shoots around these times for the best lighting conditions.
-
Use the Rule of Thirds:
The rule of thirds is a basic principle of composition. Imagine dividing your frame into a grid of nine equal parts, and position your subject along the intersecting lines or at their intersections to create visually pleasing and balanced compositions.
-
Experiment with Angles and Perspectives:
Don’t be afraid to get creative with your angles and perspectives. Try shooting from a low or high vantage point, or get close to your subject to capture unique details.
-
Utilize Leading Lines:
Leading lines are elements in your composition that guide the viewer’s eye towards the main subject. These can be roads, paths, rivers, or any other lines in the scene. Incorporate leading lines to add depth and draw attention to your subject.
-
Include Foreground Interest:
Adding a foreground element to your composition creates depth and interest. It can be a rock, a tree branch, or any other object that complements the main subject and adds visual appeal to your photo.
-
Keep It Simple:
Avoid cluttered compositions by focusing on one or two main subjects. Simplify your frame by removing distracting elements and allowing the viewer’s eye to focus on the key elements of your image.
-
Experiment with Depth of Field:
Adjusting your aperture settings allows you to control the depth of field. Use a wide aperture (small f-number) to create a shallow depth of field and isolate your subject from the background, or use a narrow aperture (large f-number) for a greater depth of field, ideal for landscape photography.
-
Patience is Key:
Nature can be unpredictable, especially when it comes to wildlife photography. Be patient and observant, waiting for the right moment to capture that perfect shot.
Remember, these tips are just a starting point. Feel free to experiment and develop your own unique style as you delve into the world of camping photography.
Landscape Photography
Landscape photography is a popular genre among camping enthusiasts. It allows you to capture the breathtaking beauty of nature and showcase the vastness and grandeur of the outdoors. Here are some tips to help you capture stunning landscape photos while camping:
-
Scout Locations in Advance:
Research and explore the camping area before your trip to identify potential landscape photography spots. Look for interesting features such as mountains, lakes, waterfalls, or unique rock formations.
-
Consider the Composition:
Pay attention to the composition of your landscape photos. Use the rule of thirds, leading lines, and foreground interest to create visually compelling images.
-
Use a Tripod:
A sturdy tripod is essential for landscape photography as it allows you to keep your camera steady, especially in low-light conditions or when using slower shutter speeds. Invest in a quality tripod for better stability and sharper images.
-
Experiment with Filters:
Filters, such as polarizers and neutral density filters, can enhance your landscape photos. A polarizing filter helps reduce glare and enhance colors, while a neutral density filter allows you to create long exposures and capture smooth water or cloud movement.
-
Capture Different Perspectives:
Don’t limit yourself to capturing landscapes from eye level. Experiment with different perspectives by getting low to the ground or finding higher vantage points to add variety and interest to your shots.
-
Consider the Weather and Lighting:
The weather and lighting conditions can greatly impact the mood and atmosphere of your landscape photos. Overcast skies can create a soft and diffused light, while dramatic clouds or golden hour light can add a touch of magic to your images. Pay attention to the weather forecast and plan your shoots accordingly.
-
Tell a Story:
Use your landscape photos to tell a story about the camping experience. Incorporate elements such as tents, campfires, or people enjoying the outdoors to add a sense of narrative and convey the emotions and memories associated with camping.
Remember, practice makes perfect. The more you immerse yourself in landscape photography while camping, the more you’ll develop your skills and artistic vision.
Wildlife Photography
Camping often brings you closer to wildlife and provides unique opportunities for wildlife photography. Here are some tips to help you capture stunning wildlife shots while respecting and preserving the natural habitat:
-
Research and Observe:
Learn about the wildlife species that inhabit the camping area you’re visiting. Understand their behaviors, habitats, and patterns to increase your chances of capturing them in their natural environment.
-
Use a Telephoto Lens:
A telephoto lens allows you to photograph wildlife from a safe distance without disturbing or endangering them. Invest in a telephoto lens with a focal length suitable for wildlife photography.
-
Be Patient and Quiet:
Wildlife photography requires patience and silence. Spend time observing your subjects and wait for the perfect moment to capture their behavior or unique interactions. Avoid sudden movements or loud noises that could startle or disturb the animals.
-
Focus on the Eyes:
When photographing wildlife, ensure that the eyes are in sharp focus. The eyes are the windows to the soul and can convey a sense of connection and emotion in your images.
-
Capture Unique Moments:
Look for unique and interesting moments to capture in your wildlife photography. It could be an animal in motion, a rare behavior, or a close interaction between individuals. These moments add intrigue and storytelling to your images.
-
Respect Wildlife and Their Habitat:
Always prioritize the well-being and safety of the animals you encounter. Respect their natural habitat and never interfere with their behavior or disrupt their environment for the sake of a photograph.
-
Practice Ethical Wildlife Photography:
Follow ethical guidelines for wildlife photography. Avoid baiting or luring animals, and never get too close or disturb their natural activities. Remember, the welfare of the animals should always come first.
Wildlife photography requires a deep appreciation for nature and a commitment to conservation. Enjoy the experience of photographing wildlife while also being mindful of their well-being.
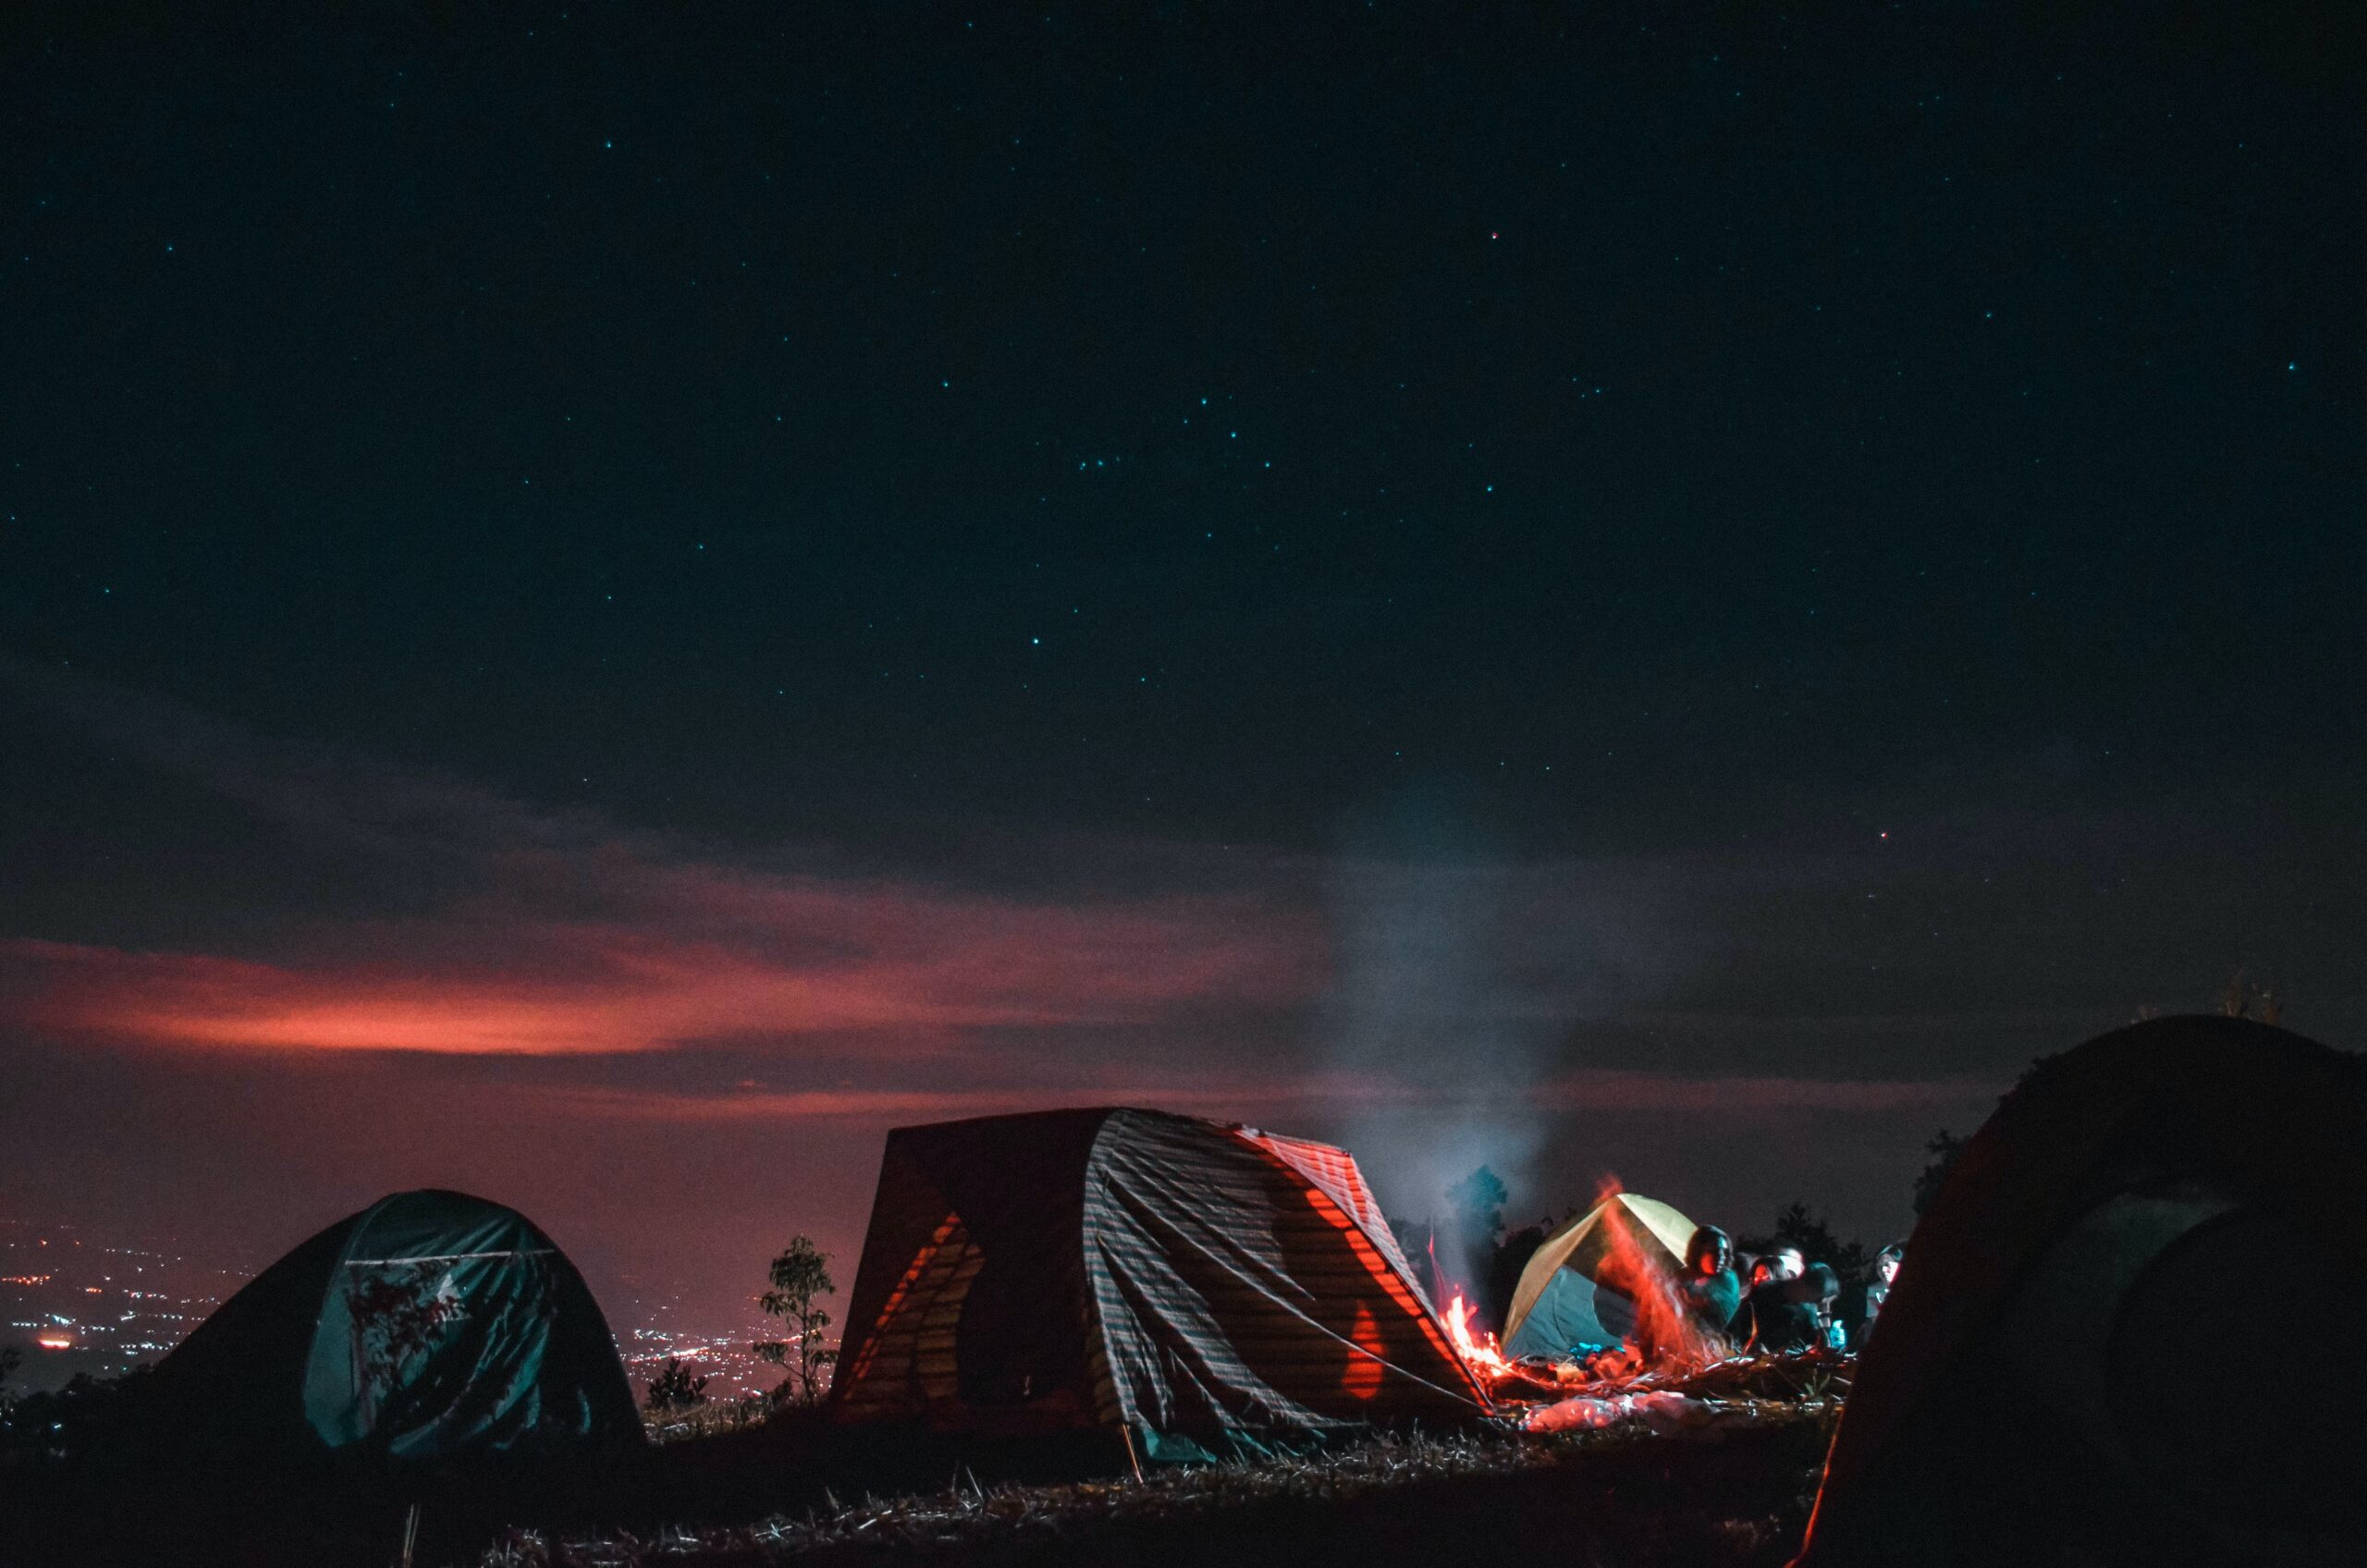
Night Sky Photography
Camping in remote areas away from light pollution provides a fantastic opportunity for night sky photography. Capturing the beauty of the stars, Milky Way, and celestial objects can create mesmerizing and awe-inspiring images. Here are some tips to help you capture stunning night sky photos while camping:
-
Plan for Dark Skies:
Research and identify camping locations with minimal light pollution to ensure optimal conditions for night sky photography. Check for nearby astronomical events or phases of the moon that may affect the visibility of stars and other celestial objects.
-
Use a Sturdy Tripod:
Stability is crucial for night sky photography due to long exposure times. Use a sturdy tripod and remote shutter release to minimize camera shake and capture sharp images.
-
Select the Right Gear:
A wide-angle lens with a low aperture (f/2.8 or lower) is ideal for capturing the vastness of the night sky. Additionally, consider using a full-frame camera with good low-light performance for optimal results.
-
Master Manual Settings:
Night sky photography often requires manual settings. Set your camera to manual mode and adjust the following settings:
– Use a high ISO (e.g., 1600-3200) to capture the faint light of stars.
– Set a wide aperture to allow more light into the camera.
– Use a long exposure time (typically 15-30 seconds) to capture the movement of stars.
-
Focus on Infinity:
Achieving sharp focus in the dark can be challenging. Set your lens to manual focus and adjust it to infinity (∞) or use the hyperfocal distance to ensure stars and other celestial objects appear sharp.
-
Experiment with Light Painting:
Incorporate light painting techniques to add interest and creativity to your night sky photos. Use a flashlight or a dedicated light painting tool to illuminate foreground elements or create light trails.
-
Capture Star Trails:
For longer exposures, you can capture stunning star trail images. Keep your camera in Bulb mode and use a remote shutter release to open the shutter for an extended period (e.g., 30 minutes to several hours).
Remember, night sky photography requires practice and experimentation. Embrace the challenges and be patient as you hone your skills in capturing the wonders of the cosmos.
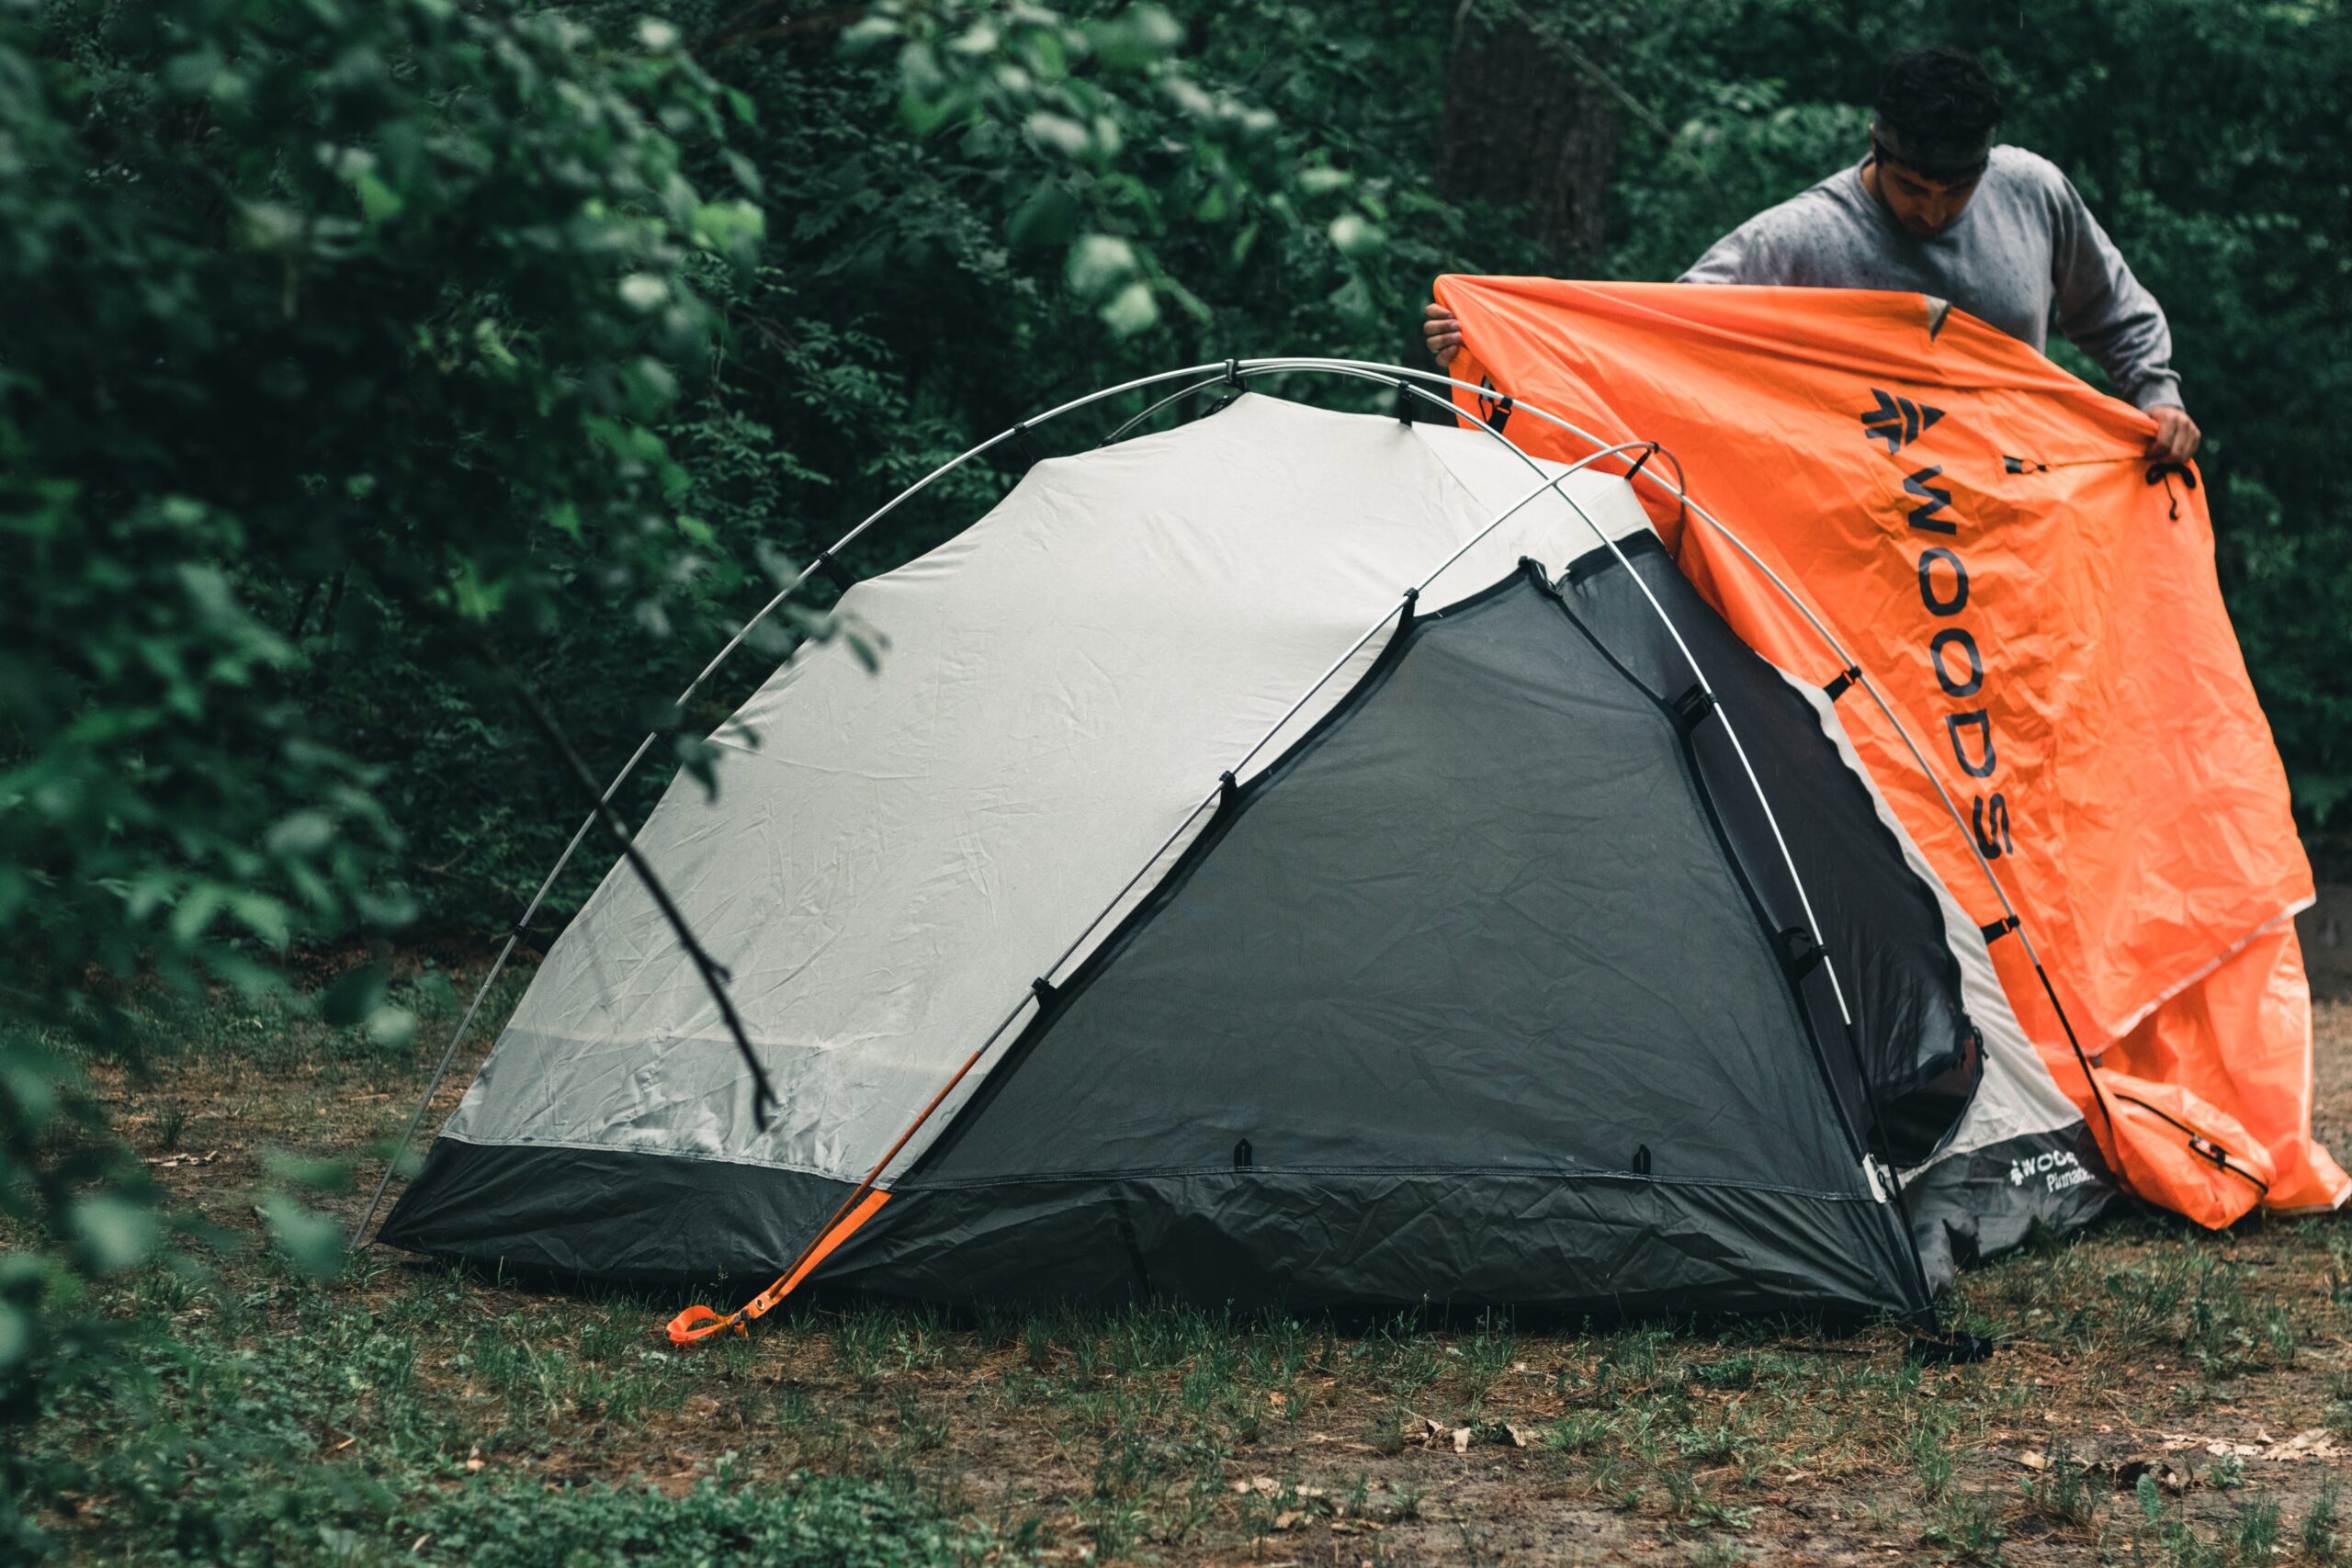
Campsite Photography
Camping is not just about exploring the surroundings; it’s also about capturing the essence of the campsite and the camping experience itself. Here are some tips for capturing compelling campsite photos:
-
Tell a Story:
Campsite photos should evoke the feelings and memories associated with camping. Capture the setting sun, friends gathered around a campfire, or the cozy interior of a tent. Create a visual narrative that transports viewers into the camping experience.
-
Highlight Camp Activities:
Photograph camp activities such as cooking, hiking, fishing, or storytelling. These images add a sense of liveliness and immersion to your campsite photography.
-
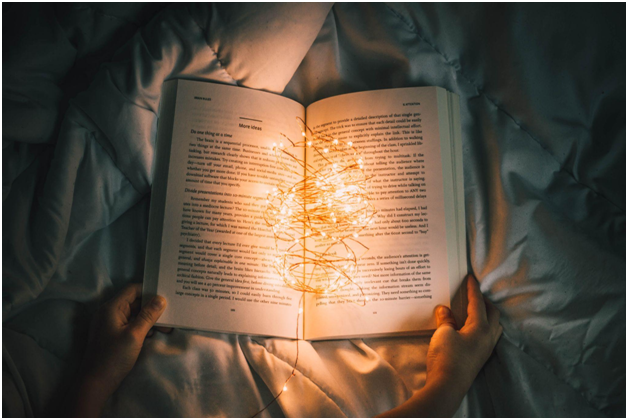
Focus on Details:
Pay attention to the small details that make camping special. Capture the textures of a campfire, the arrangement of camping gear, or the intricate patterns on a camping mug. These details add depth and authenticity to your images.
-
Utilize Natural Light:
Use natural light to your advantage when photographing the campsite. The soft, warm light of sunrise or sunset can create a cozy and inviting atmosphere. Position your subjects in a way that takes advantage of the available light.
-
Experiment with Perspectives:
Don’t limit yourself to capturing the campsite from eye level. Get down low or find elevated vantage points to capture unique perspectives. Shoot from within the tent or through the branches of surrounding trees to add a sense of intimacy and immersion.
-
Include People:
Including people in your campsite photos adds a human element and helps tell the story of the camping experience. Capture candid moments, laughter, and connections between campers to convey the joy and camaraderie of camping.
-
Be Mindful of the Environment:
When photographing the campsite, be mindful of Leave-No-Trace principles. Avoid trampling vegetation or disturbing the natural surroundings. Preserve the campsite’s natural beauty while capturing its essence.
Campsite photography allows you to encapsulate the emotions and memories associated with camping. Embrace the uniqueness of each campsite and let your photos reflect the magic of the camping experience.
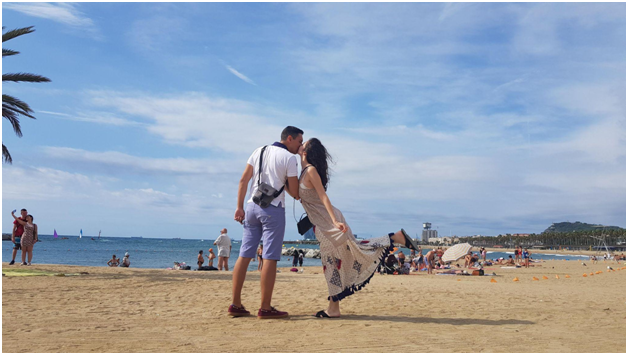
Outdoor Portrait Photography
Portraits are a wonderful way to capture the beauty and personality of individuals in the great outdoors. When camping, take advantage of the natural surroundings and beautiful light to create stunning outdoor portraits. Here are some tips for outdoor portrait photography:
-
Utilize Natural Light:
Outdoor portraits offer the advantage of abundant natural light. Position your subject in open shade or during the golden hours for soft, flattering light. Avoid harsh midday sunlight that can create unflattering shadows.
-
Consider the Background:
Choose a background that complements your subject and adds visual interest to the portrait. Look for textures, colors, or natural elements that enhance the overall composition.
-
Engage with the Surroundings:
Encourage your subject to interact with the environment. Whether it’s leaning against a tree, standing near a lake, or walking through a meadow, incorporating the surroundings adds depth and context to the portrait.
-
Experiment with Poses and Expressions:
Guide your subject to pose naturally and express genuine emotions. Encourage movement, laughter, or quiet introspection. Capture both candid moments and more posed shots to create a diverse set of portraits.
-
Use a Wide Aperture for Bokeh:
Achieve a pleasing bokeh effect by using a wide aperture (low f-number). This will create a shallow depth of field, blurring the background and bringing attention to the subject.
-
Consider Lens Choice:
A portrait lens, such as an 85mm or 50mm lens, can help you achieve flattering results. However, don’t be afraid to experiment with wider lenses to capture environmental portraits or group shots.
-
Capture Candid Moments:
Candid moments can reveal authentic emotions and create memorable portraits. Be ready to capture spontaneous interactions, laughter, or moments of quiet reflection.
Outdoor portrait photography allows you to create timeless images that showcase the connection between people and the natural world. Embrace the beauty of nature and the unique personalities of your subjects to capture stunning outdoor portraits.
Action and Adventure Photography
Camping often involves engaging in outdoor activities and adventures, presenting opportunities for action photography. Whether it’s hiking, rock climbing, kayaking, or any other outdoor pursuit, capturing the energy and excitement of these moments can result in dynamic and thrilling images. Here are some tips for action and adventure photography while camping:
-
Use a Fast Shutter Speed:
To freeze motion and capture sharp action shots, use a fast shutter speed. Increase your ISO and select a wide aperture to allow for faster shutter speeds, ensuring that the action is captured crisply.
-
Anticipate the Action:
Action photography requires anticipation and timing. Familiarize yourself with the activity you’re photographing and anticipate when the most exciting or impactful moments will occur. Be ready to press the shutter at the right time.
-
Capture Emotion and Expression:
Action shots are not just about the physical movement; they should also convey the emotions and energy of the moment. Focus on capturing expressions, body language, and the connection between participants to add depth to your images.
-
Experiment with Angles and Perspectives:
Action and adventure photography allows for creative freedom. Experiment with different angles and perspectives to capture unique and captivating shots. Get low to the ground, shoot from above, or try unconventional angles to add interest to your images.
-
Consider the Background:
Pay attention to the background when capturing action shots. A cluttered or distracting background can take away from the impact of the image. Look for clean backgrounds or use a wide aperture to blur the background and isolate the subject.
-
Use Burst Mode or Continuous Shooting:
Action photography often involves fast-paced moments. Utilize burst mode or continuous shooting to capture a series of images in rapid succession, increasing the likelihood of capturing the perfect action shot.
-
Safety First:
When photographing action and adventure activities, prioritize safety. Be aware of your surroundings and the potential risks involved. Respect the participants’ boundaries and ensure that your presence as a photographer does not compromise their safety or concentration.
Action and adventure photography can capture the thrill and intensity of outdoor activities. Embrace the dynamic nature of these moments and experiment with different techniques to capture compelling images.
Post-processing Tips
Post-processing plays an essential role in enhancing and refining your camping photos. Here are some tips to help you make the most of your post-processing workflow:
-
Shoot in RAW:
When possible, shoot in RAW format. RAW files contain more data and allow for greater flexibility in post-processing, especially when adjusting exposure, white balance, and recovering details.
-
Organize and Backup:
Create a system to organize and backup your camping photos. Sort and categorize them into folders, and consider using cloud storage or external hard drives to ensure the safety of your images.
-
Adjust Exposure and White Balance:
Use editing software to fine-tune the exposure and white balance of your images. Adjust the brightness, contrast, highlights, shadows, and temperature to achieve the desired look.
-
Enhance Colors:
Make colors pop by adjusting saturation, vibrance, or individual color channels. However, be cautious not to overdo it and maintain a natural look in your photos.
-
Sharpen and Reduce Noise:
Apply selective sharpening to enhance details, especially in landscape or wildlife photos. Additionally, reduce noise in high ISO images using noise reduction tools to achieve cleaner results.
-
Crop and Straighten:
Use cropping to improve composition and remove distractions. Straighten horizons or adjust the perspective if needed.
-
Apply Creative Effects:
Experiment with creative effects, such as vignetting, selective blurring, or black and white conversions, to add a unique touch to your camping photos. However, ensure that these effects enhance the image rather than overpower it.
Remember, post-processing is a personal artistic choice. Develop your own style and aesthetic preferences as you experiment and refine your images.
Conclusion
Camping photography allows you to capture the beauty of nature, the emotions of the camping experience, and the thrill of outdoor adventures. Whether you’re photographing landscapes, wildlife, portraits, or action shots, the key is to immerse yourself in the moment, experiment, and let your creativity shine. With practice, you’ll be able to capture unforgettable moments and create a visual narrative that reflects the magic of camping. So pack your camera gear, venture into the great outdoors, and start capturing those memorable camping moments through the lens of your camera.
FAQs:
A camera with manual settings and good low-light performance is ideal for camping photography. DSLRs and mirrorless cameras are popular choices, but even a high-quality smartphone camera can produce impressive results.
While high-end equipment can enhance your night sky photography, it’s not necessary to have the most expensive gear. With a camera that performs well in low-light conditions and a sturdy tripod, you can capture stunning images of the night sky.
Invest in a durable camera bag or backpack that provides sufficient padding and protection for your equipment. Consider using lens caps, filters, and camera rain covers to shield your gear from dust, moisture, and accidental damage.
Post-processing is not mandatory, but it can significantly enhance your camping photos. Basic adjustments like exposure, white balance, and cropping can improve the overall look, while more advanced editing techniques can take your images to the next level.
While natural light is often preferred for outdoor portraits, a fill flash can help reduce harsh shadows or balance the lighting in certain situations. Experiment with flash techniques to achieve the desired effect while maintaining a natural look.
Remember, practice and experimentation are key to improving your camping photography skills. Don’t be afraid to try new techniques, explore different perspectives, and let your creativity guide you. Happy camping and happy shooting!
Read More: Camping Activities for Kids: Fun and Adventure in the Great Outdoors